

You've probably heard the buzz about derma stamping for hair growth. Maybe you've even ordered one, and it's sitting on your bathroom shelf, still in the box. We get it. Tiny needles meeting scalp sounds intimidating when you're not quite sure what you're doing.
Here's the good news: derma stamping is simpler than it looks. With the right technique and a solid routine, this little tool can become a proper game-changer for your hair health. The key? Doing it properly. That's exactly what we're breaking down today.
Whether you're dealing with thinning around your part, post-baby shedding, or hair that just won't seem to grow past a certain length, this guide walks you through everything from prep to aftercare. Consider it your complete rhutine for getting the most out of your derma stamp.
Getting Started: What You Need Before Your First Session
Before you dive into stamping, gather your essentials. Having everything ready means you won't be fumbling mid-session with alcohol-soaked hands trying to find your sectioning clips.
Your derma stamping checklist:
Your clean derma stamp (obviously), isopropyl alcohol or cleansing alcohol for sanitisation, sectioning clips if you have longer hair, your chosen scalp serum (more on this later), and a clean, well-lit space to work in. A mirror you can get close to helps enormously, especially when you're learning the technique.
On needle depth: If you're new to derma stamping, here's something worth knowing. When it comes to microneedling, bigger doesn't automatically mean better. Research found that a 0.6mm needle depth actually outperformed a 1.6mm depth for hair growth when combined with topical treatments. The shallower depth showed better results for both hair count and hair thickness.
This is why rhute's dermastamp uses a 0.3mm needle depth. It's designed for consistent at-home use without the recovery time longer needles require, while still creating the microchannels your scalp needs to absorb growth-supporting ingredients. You'll get the benefits of enhanced serum absorption plus follicle stimulation without overdoing it.
How to Prep Your Scalp for Derma Stamping
Starting with a clean scalp isn't just good practice. It's essential for both safety and results. Any dirt, oil, or product buildup creates a barrier between those needles and your skin. Worse, it increases the risk of pushing bacteria into the microchannels you're about to create.
Wash your hair with a gentle, clarifying shampoo before your session. Skip the conditioner this time, or at least keep it well away from your scalp. You want your scalp completely free from residue. Let it dry fully before you begin. Stamping on damp skin can affect how the needles penetrate and increases irritation.
If you're concerned about sensitivity, especially for your first few sessions, a topical numbing cream is an option. Apply it about 20 to 30 minutes beforehand and wipe it off completely before you start. That said, most people find the sensation manageable once they get the pressure right. It should feel a bit uncomfortable, like tiny pricks, but not painful.

Step-by-Step: The Derma Stamping Technique
This is where the magic happens. The actual stamping technique is straightforward once you understand the motion.
1. Disinfect your derma stamp
This step is non-negotiable. Before every single use, pour some cleansing alcohol into the lid of your dermastamp and insert the stamp with needles facing down. Turn it in circular motions for about one to two minutes. This ensures you're cleaning between every needle, not just the surface. Let it dry completely before touching it to your scalp.
2. Section your hair
Part your hair to expose the areas you want to treat. If you're targeting your part line or hairline, you may only need one or two sections. For broader coverage, work in quadrants. The goal is making sure the stamp can reach your actual scalp, not just your hair.
3. Use the correct stamping motion
Hold your derma stamp like a pen, with a firm but relaxed grip. Press it straight down onto your scalp, then lift. That's it. No dragging, no twisting, no rolling motion. This is what makes a derma stamp different from a derma roller: you're pressing, not rolling, which gives you more precision and reduces the chance of hair getting caught or pulled. Think of it as stamping an envelope: down, up, move, repeat.
Apply light, even pressure. The needles should feel like they're making contact with your skin, a slight pricking sensation, but you shouldn't be pressing so hard that it's painful. If it hurts, ease up.
4. Work in a pattern
Start horizontally across each section, stamping in a straight line. Then go back over the same area vertically. This criss-cross pattern ensures even coverage without over-treating any single spot. Two to three passes per area is ideal for the zones where you want to support hair growth.
5. Know when you've done enough
Your scalp may show slight pinkness or redness after stamping. This is normal and actually indicates the treatment is working by bringing blood flow to the area. You shouldn't be bleeding or experiencing significant pain, though. If you are, you're pressing too hard or going over the same area too many times.
6. Disinfect again after use
Once you've finished, sanitise your derma stamp again using the same circular motion technique in the lid. Let it air dry completely before storing it with the protective lid on. This prevents bacteria from building up between sessions.
Needle Depth Guide: Matching Your Goals to Your Settings
Understanding needle depth helps you use your derma stamp more effectively. Different depths achieve different things, and knowing what your tool is designed for makes a difference.
0.25mm to 0.5mm depths primarily enhance serum absorption. These shorter needles create microchannels in the epidermis (the outermost layer of skin) that allow topical products to penetrate more effectively. This is the sweet spot for regular at-home use. Research on mice models found that 0.25mm and 0.5mm needle lengths produced the most prominent hair growth results when used consistently, activating growth-promoting pathways including Wnt/β-catenin and VEGF.
0.5mm to 1.0mm depths reach into the dermis, where hair follicles reside. This range can stimulate dormant follicles and increase blood circulation to the hair root. These depths require more recovery time between sessions.
1.0mm to 1.5mm and beyond are considered more intensive treatments, often performed in clinical settings. While studies have used these depths successfully, the 2020 study comparing 0.6mm to 1.6mm found the shallower depth actually produced better outcomes for both hair count and thickness. This suggests that for hair growth specifically, going deeper isn't necessarily more effective.
rhute's 0.3mm dermastamp sits in the optimal range for enhancing product absorption while providing gentle follicle stimulation. It's designed for 1-2 times weekly use without the extended downtime longer needles require.

What to Apply After Derma Stamping (and What to Avoid)
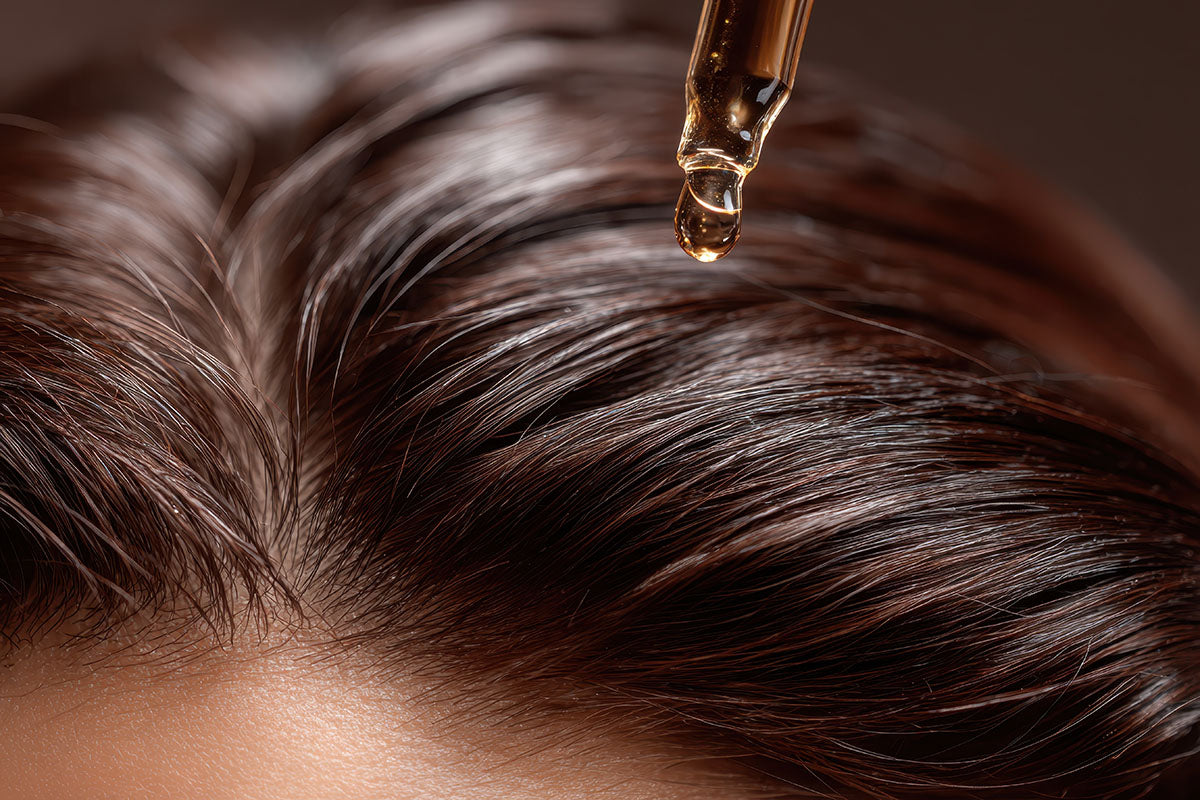
The minutes immediately following your stamping session are prime time. Those microchannels you just created are open pathways directly to your follicles. What you apply now will absorb far more effectively than it would on untreated skin.
What to reach for:
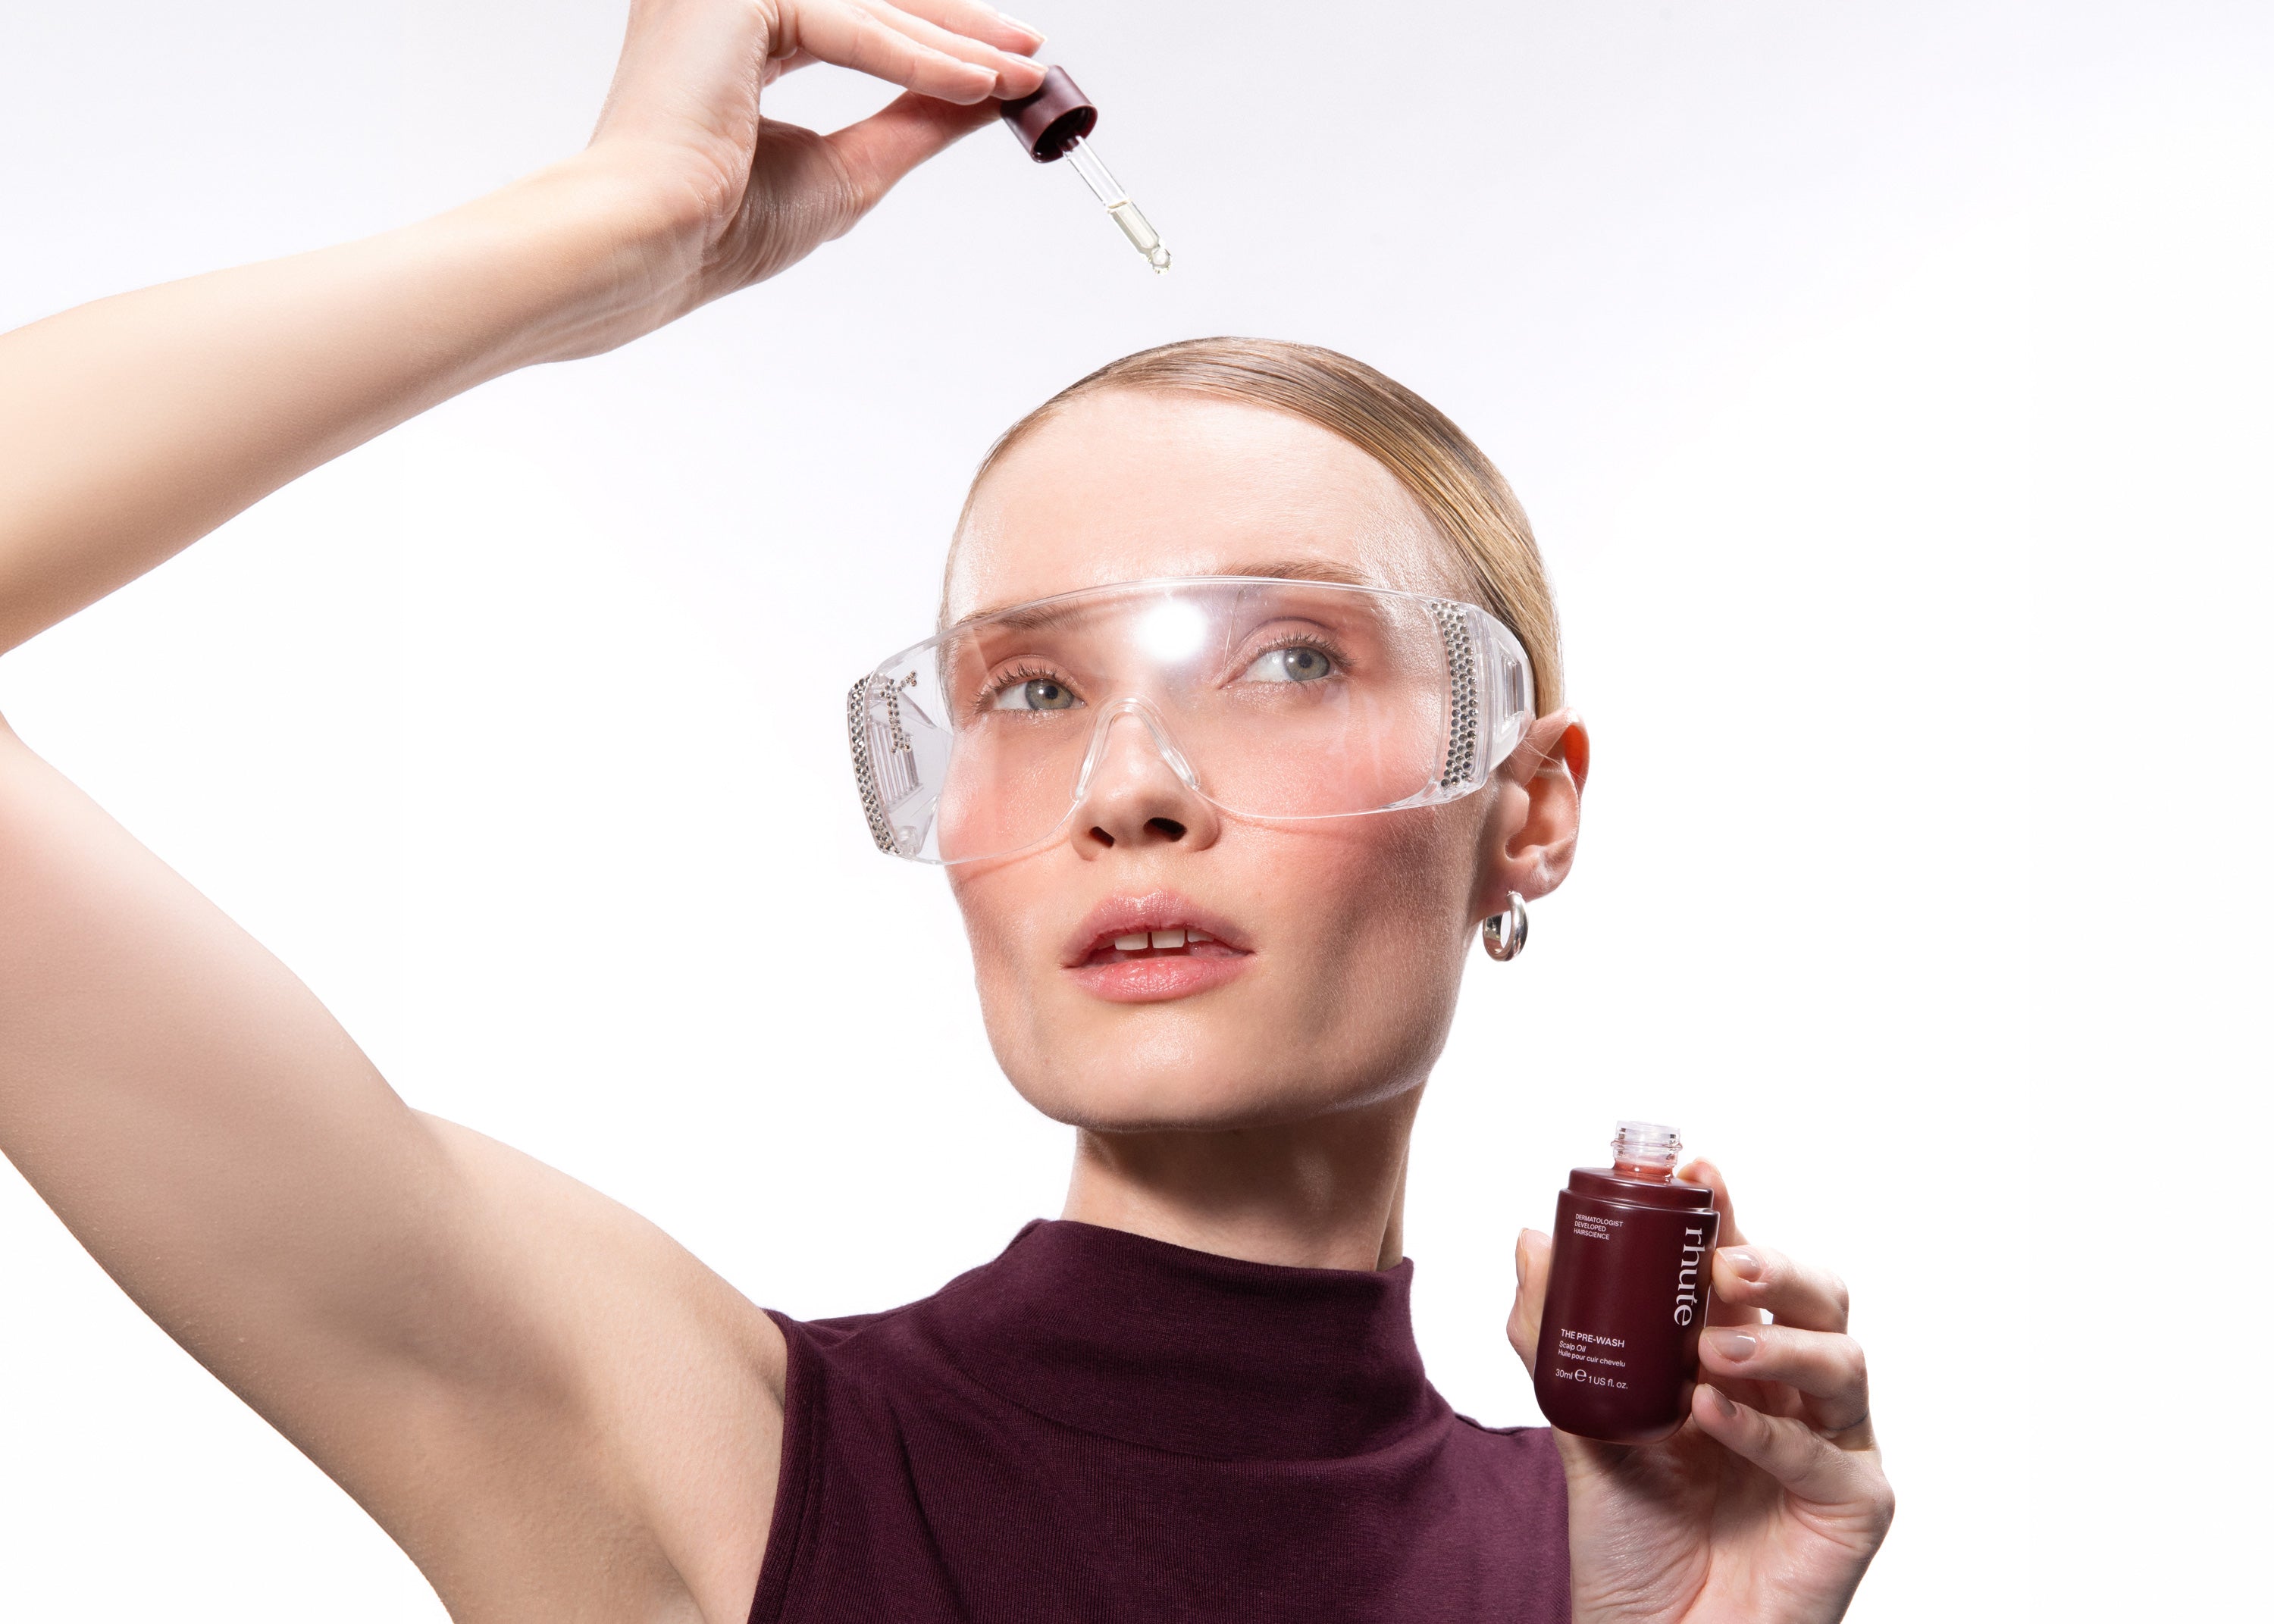
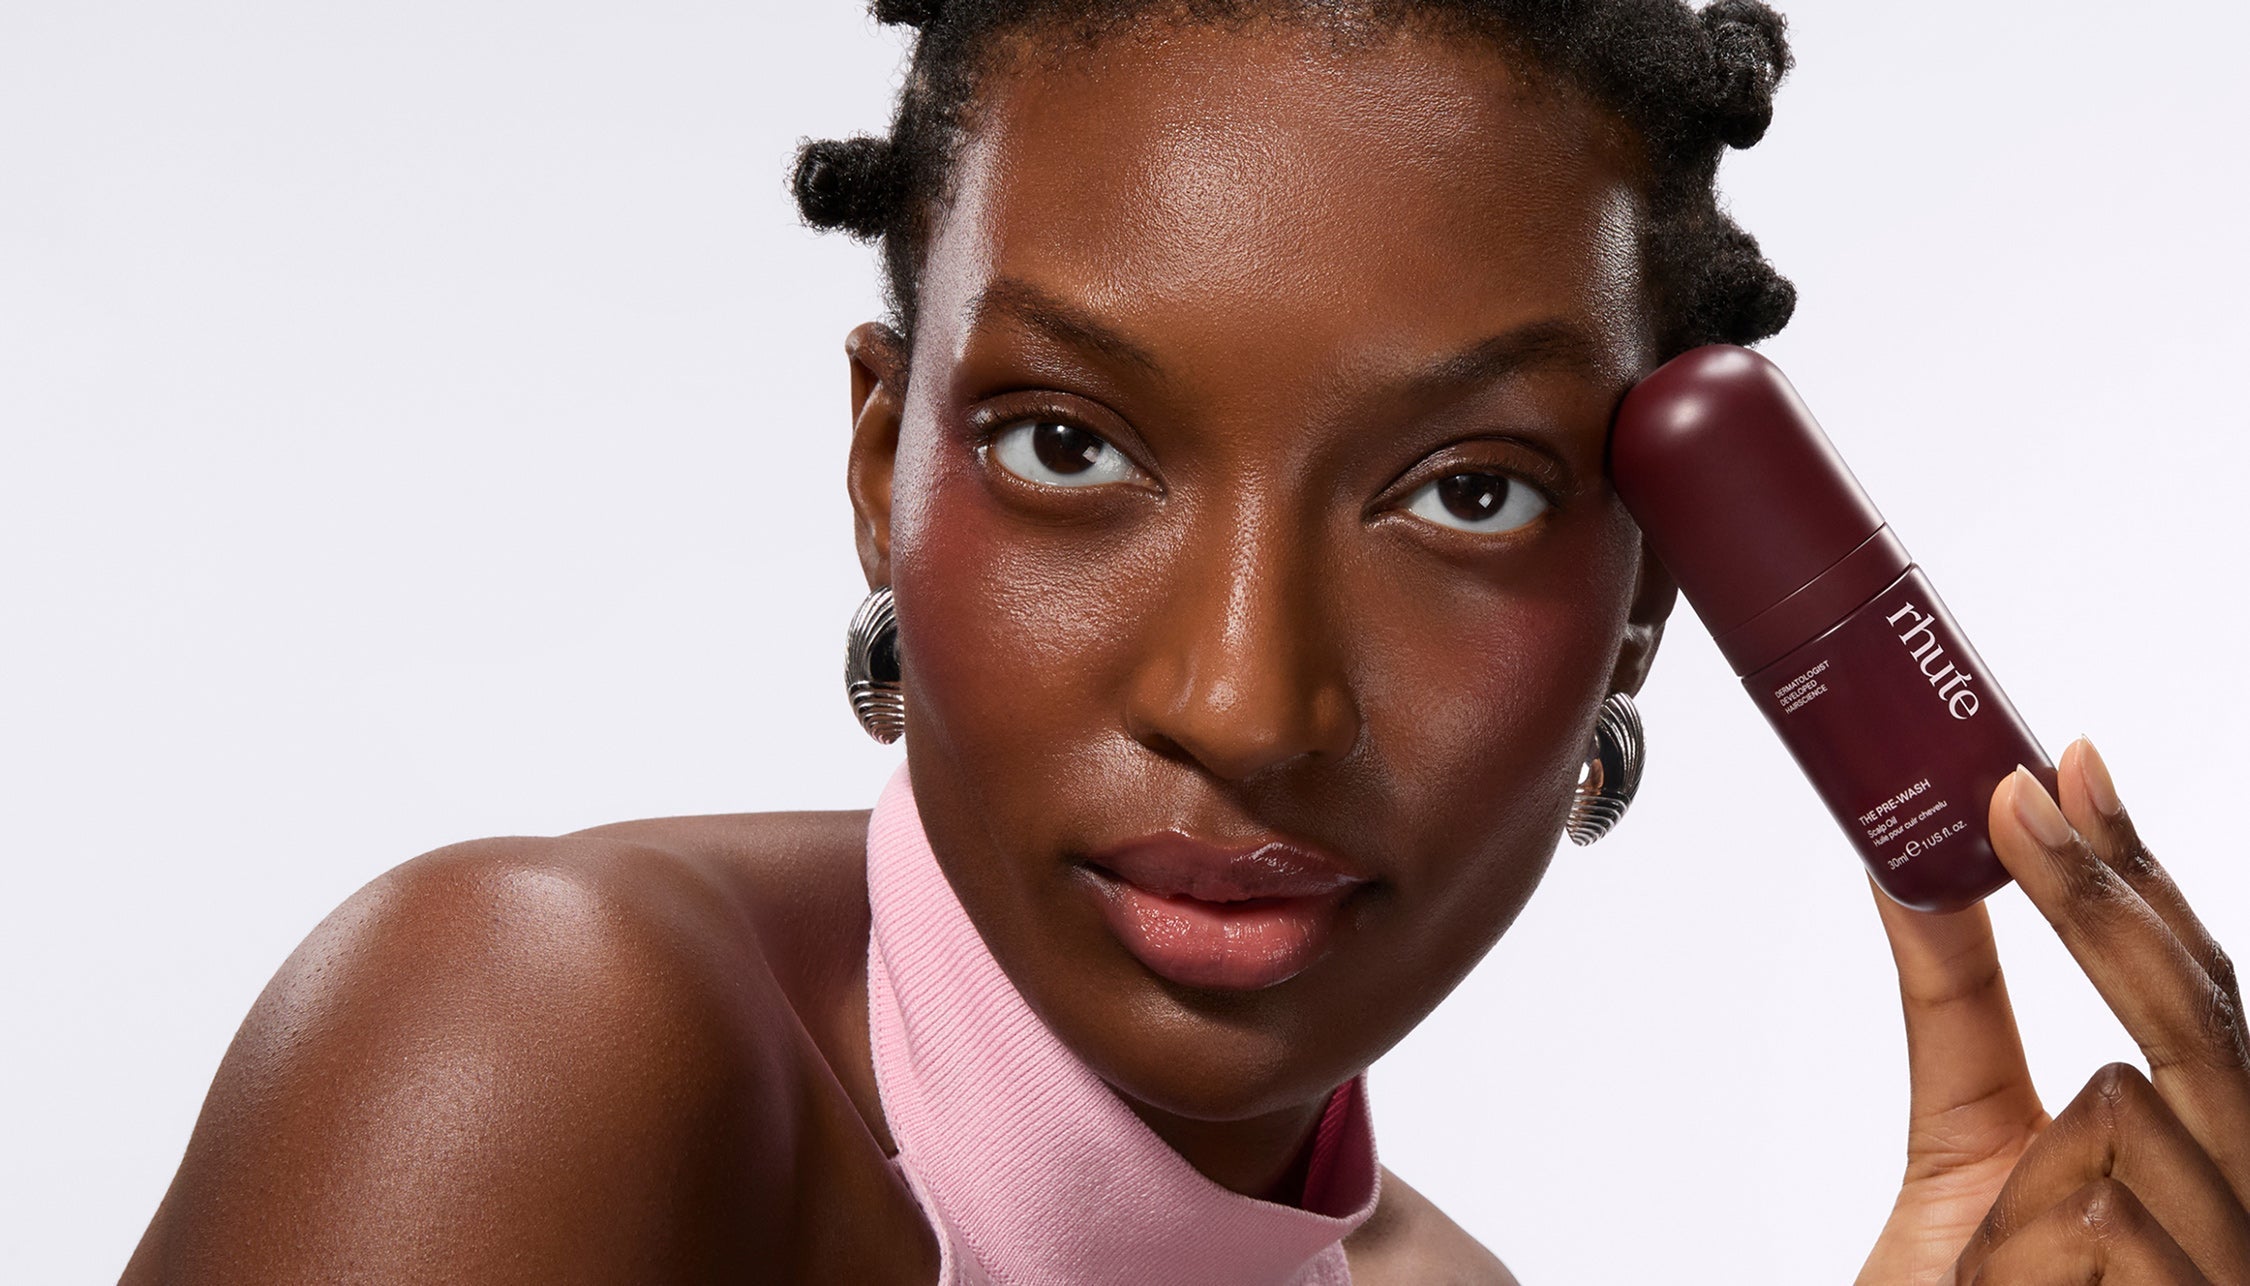
This is the moment for your hair growth serum. Ingredients like bioactive peptides, caffeine, niacinamide, and stem cell extracts can now reach the dermal layers where your hair follicles actually live. rhute's Density + Repair serum is formulated specifically for this. Apply it straight after dermastamping to enhance its absorption into the scalp.
The key ingredients in Density + Repair work synergistically with microneedling: stem cell extracts promote follicle regeneration, caffeine stimulates follicles, and niacinamide soothes and strengthens the scalp barrier. Clinical research shows microneedling combined with topical treatments significantly outperforms topical treatments alone, with one study showing a mean hair count increase of 91.4 in the microneedling group compared to just 22.2 with topical treatment only.
What to avoid:
Skip anything with harsh active ingredients for at least 24 hours after stamping. That means no alcohol-based products (aside from the sanitiser on your tool), no retinoids, no strong acids like glycolic or salicylic, and nothing heavily fragranced. Your scalp's barrier has been temporarily compromised, and these ingredients will cause irritation or even damage.
Also avoid applying your everyday styling products immediately after. Give the serum time to absorb and your scalp time to settle before adding anything else to the mix.
Aftercare: The 24-48 Hours Post-Treatment
What you do after your session matters just as much as the session itself. Your scalp needs time to recover and respond to the treatment.
For the first 24 hours:
Avoid washing your hair if possible. This gives the serum maximum absorption time and lets your scalp begin its healing response without interference. Stay away from intense exercise or anything that makes you sweat heavily. Sweat can irritate freshly treated skin and potentially introduce bacteria.
Keep your scalp away from direct sunlight. Those microchannels make your skin more susceptible to UV damage. If you need to go outside, wear a hat.
What normal recovery looks like:
Some redness immediately after treatment is expected and typically fades within a few hours. Mild sensitivity or a slight tingling sensation is also normal. If you notice any persistent swelling, bleeding, or signs of infection (increased redness, warmth, pus), stop using the derma stamp and consult a healthcare provider.
When to wash:
You can wash your hair 24 hours after your session. Use a gentle shampoo and avoid scrubbing the treated areas aggressively.
Common Mistakes That Sabotage Your Results
Learning what not to do is just as valuable as learning the correct technique. Here's where people often go wrong.
Stamping too frequently. More is not more. Using your derma stamp daily doesn't speed up results. It prevents your scalp from healing properly and can actually compromise your skin barrier over time. Stick to 1-2 times weekly with rhute's 0.3mm depth.
Using too much pressure. The needles do the work, not your force. Pressing harder doesn't mean better penetration. It means irritation, potential scarring, and a scalp that's too stressed to respond well to treatment.
Skipping sanitisation. We really can't emphasise this enough. Using an unsanitised derma stamp introduces bacteria directly into your skin. Every session, before and after, clean your tool properly using the lid as your disinfecting vessel.
Applying the wrong products afterwards. That vitamin C serum you love for your face? Keep it away from your freshly stamped scalp. The post-treatment window calls for gentle, growth-supporting ingredients only.
Not being consistent. Derma stamping works through a cumulative effect. One session won't transform your hair. Commit to your routine for at least 8 to 12 weeks before evaluating results.
Giving up too soon. Hair growth takes time. The follicle cycle means you won't see new growth appear overnight. Most people start noticing changes around the 8 to 12 week mark with consistent use.
Forgetting to replace your stamp. Change your dermastamp every 10 to 12 uses or when it becomes blunt, whichever comes first. Dull needles are less effective and can cause more trauma to the skin.
Frequently Asked Questions
How much pressure should I use when derma stamping?
Light, even pressure is the goal. The needles should make contact with your skin and create a slight pricking sensation, but it shouldn't be painful. If you're pressing so hard that it hurts or causes bleeding, ease up. The tool is designed to do the work at its intended depth.
Can I use a derma stamp on wet hair?
No. Always derma stamp on a completely dry scalp. Wet skin changes how the needles penetrate and can increase irritation. Wash and dry your hair thoroughly before your session, skipping conditioner on the scalp.
How do I clean my derma stamp properly?
Pour cleansing alcohol into the lid of your dermastamp and submerge the stamp head with needles facing down. Turn it in circular motions for one to two minutes to clean between every needle. Do this before and after every use, and let it dry completely before storing.
When should I replace my derma stamp?
Replace your derma stamp every 10 to 12 uses, or when it starts to feel blunt, whichever comes first. Dull needles are less effective and can cause more trauma to the skin. If your stamp isn't gliding as smoothly as it used to, it's time for a new one.
Can I use a derma stamp if I have scalp conditions?
If you have active scalp conditions like psoriasis, eczema, open wounds, or active infections, avoid derma stamping until the condition has cleared. The microchannels created by stamping can worsen these conditions or spread infection. If you're unsure, consult a dermatologist before starting.
How often should I derma stamp for hair growth?
For rhute's 0.3mm dermastamp, 1-2 times per week is the sweet spot. This gives your scalp adequate recovery time between sessions while maintaining consistent stimulation. Using it more frequently won't accelerate results and may impede them.
When will I see results from derma stamping?
Most people begin noticing improvements around the 8 to 12 week mark with consistent use. Hair growth is a gradual process governed by your follicle cycle, so patience and consistency are essential. Early signs often include reduced shedding before visible new growth appears.


Share:
Microneedling for Hair Loss: Does It Work?
Microneedling for Hair Growth: Your Before and After Timeline